
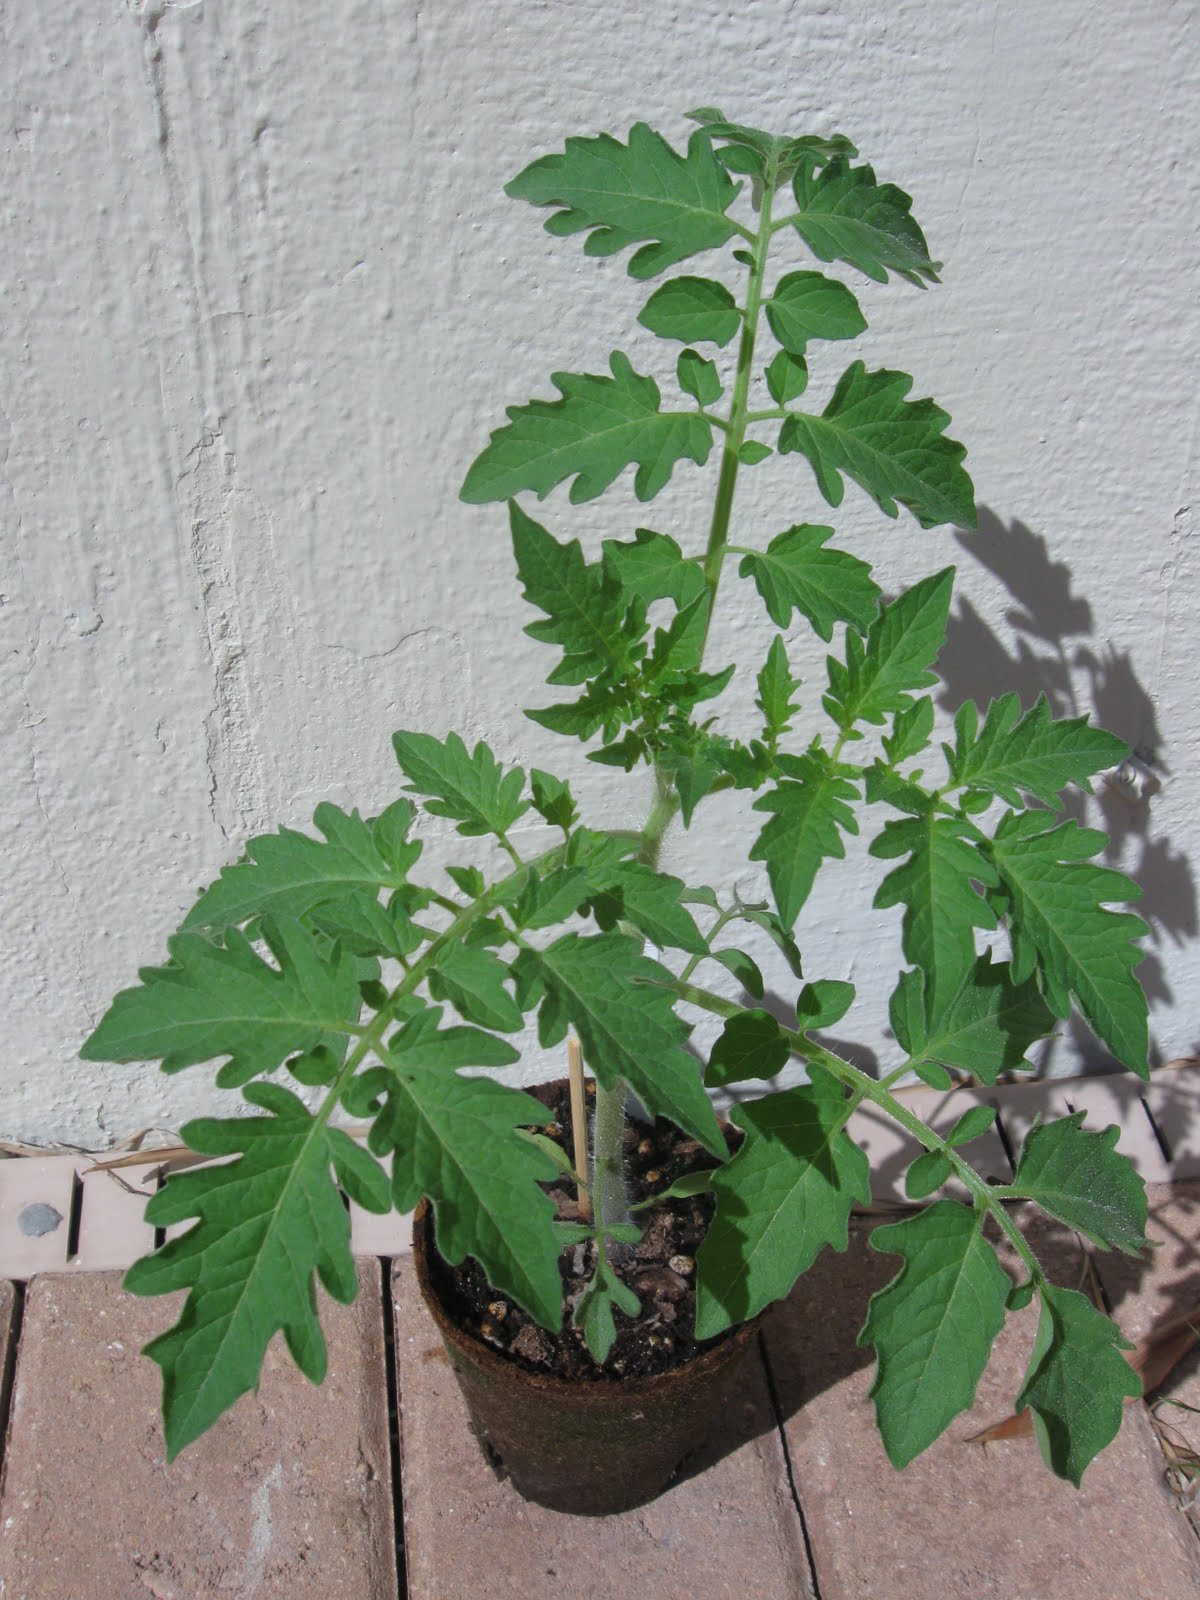
Now that's a seedling! This yellow pear seedling is clearly ready to go into the ground, so I'm thinking this weekend, I might end up planting some tomatoes. The weather is supposed to be perfect and fall-y, and at least a few of my seedlings are ready to go.
In general, the last week has been extremely good for these little guys. They've shot up, strengthened, filled out, and are starting to look like actual tomato plants. Actually, I have to admit that they sort of outpaced me—I was looking forward to spending next week talking about some fundamentals, and then planting next weekend. But I'm not going to complain about outrageously healthy transplants.
So ... let's get down to the nitty gritty. This weekend, I'll only plant tomatoes in conventional containers (as opposed to using an Earthbox or in the ground). The Earthbox is a whole different animal that I'll deal with later, but if you're planting in the ground, all of the following stuff still applies to you. I'll post photos after I finish, but here's the gist of the thing:
1. Remember how it's all about dirt? It absolutely is. Tomatoes like rich, loose, fast-draining soil for optimal growth. Yes, you can plant tomatoes in sand and they'll likely do OK (if you're good), but if you want ridiculous tomatoes, use good dirt. This year, I'm using Fafard 3B Professional Mix (purchased from Nu-Turf of Pompano), which I'll juice with dolomite lime, bone meal and blood meal. This particular bagged soil is blended for nurseries and has all the stuff I'm looking for—it's loose, chunky, and slow to decompose. You can also blend your own soil.
Here's the recipe I used last year with great success, along with some more tips for container culture. Can you use a regular bagged potting soil, like Miracle-Gro? Yes. I would avoid any mix, however, that has water retention crystals, and if possible, try to avoid previously enriched mixes. They are usually nitrogen heavy, which encourages leaf growth at the expense of fruiting. But if that's all you can find, fear not.
2. Add a shot of dolomite lime, even to previously balanced soil mixes. Dolomite lime adds magnesium and calcium to the growing environment, and both are absolutely essential for healthy tomatoes. Tomatoes are very heavy consumers of calcium, and plants that are deficient in calcium develop blossom end rot, which is annoying and ruins your fruit. You can buy a big bag of dolomite lime at a decent garden center, and it will last forever. I use about 1 cup of dolomite per 20 gallons of mix.
3. Countersink your tomatoes! Don't be afraid to really bury those suckers. Cut off a few of the lower leaves and really sink the plant. Tomatoes will sprout roots from the stem, so this will result in healthy, more vigorous plants.
4. Remember to plan for staking them up. Your tomato plants will likely grow into monster vines, hopefully laden with 10 or 20 pounds of fruit. They will need to be staked up. As always, I'm using the same tomato cages I made years ago.
Here are instructions on how to make your own. Whatever you do, don't count on those flimsy "tomato cages" they sell in garden centers. Those might work up north, where tomato vines only grow knee-high. Down here, an eight-foot vine will make a mockery of the little cage. If you don't want to build your own cage, you can get sturdy cages from places like
Tomato Grower's Supply Company, although they are much more expensive to buy than make yourself.
As far as feeding your plants, I would hold off right away, so we'll talk more about fertilizers in the next few days. Transplants are still tender, with their little roots still toughening up. You don't want to hit the plant with a dose of strong fertilizer right away or you could end up with burned leaves. So you can use a transplant solution if you want, or you can give them a dose of fish emulsion (which I probably will), but hold off on the serious feeding for now.
If you must, and especially if you're growing organic tomatoes, add a little bone meal (for calcium) and blood meal (for nitrogen) to the soil mix. Follow the label instructions—these gentle, organic fertilizers are very unlikely to burn transplants.
One final thought: there's actually a fair bit of controversy surrounding the use of composts in your potting soil. I've used Black Cow composted cow manure for years, with great success. It's heavy (which is bad), but it's also a steady source of nutrition (which is good). I've also heard good things about composted chicken manure and mushroom compost. People who dislike these products say they are 1) too heavy and impeded drainage in containers (which is always bad) and 2) unstable, so you don't really know what you're getting. Personally, I'm not one of those people, and if you're planning on growing organic tomatoes, I think mixing a bag of compost into your growing media is a great idea.
Just remember: if you do add compost, I'd also dump some perlite in there. Perlite is used to increase drainage in potting soil—it's the little white stuff. It's nonorganic, but it doesn't compress over time and starve the plant root's of oxygen. Root-zone oxygenation is one of THE MOST important factors in healthy container plants. So ... if you want to use compost, pick up a bag of perlite while you're buying the compost and add that to the mix also. Your tomatoes will appreciate it.
Whew! So that's a lot, right? But handling the planting right is easily half the battle. (Although I think I say that often enough that this battle must have ten halves ... ha ha.) You want the biggest container you can handle, with the best dirt, and the healthiest transplant. Once you get that far, you can let the tomato itself handle a lot of the driving from here.



 Posts
Posts


